Project Begat Project Jr. | Part 6
Project Begat Project Jr. | Part 6
Medusa v. The Flying Spaghetti Monster

Here’s a story I originally wrote at the beginning of 2020 regarding events that took place in the Fall of 2014. A break from your regularly scheduled project programming to talk about, well…more projects, because at the end of the day, what am I actually working on here? Let’s find out. Here’s the previous episode if you missed it.

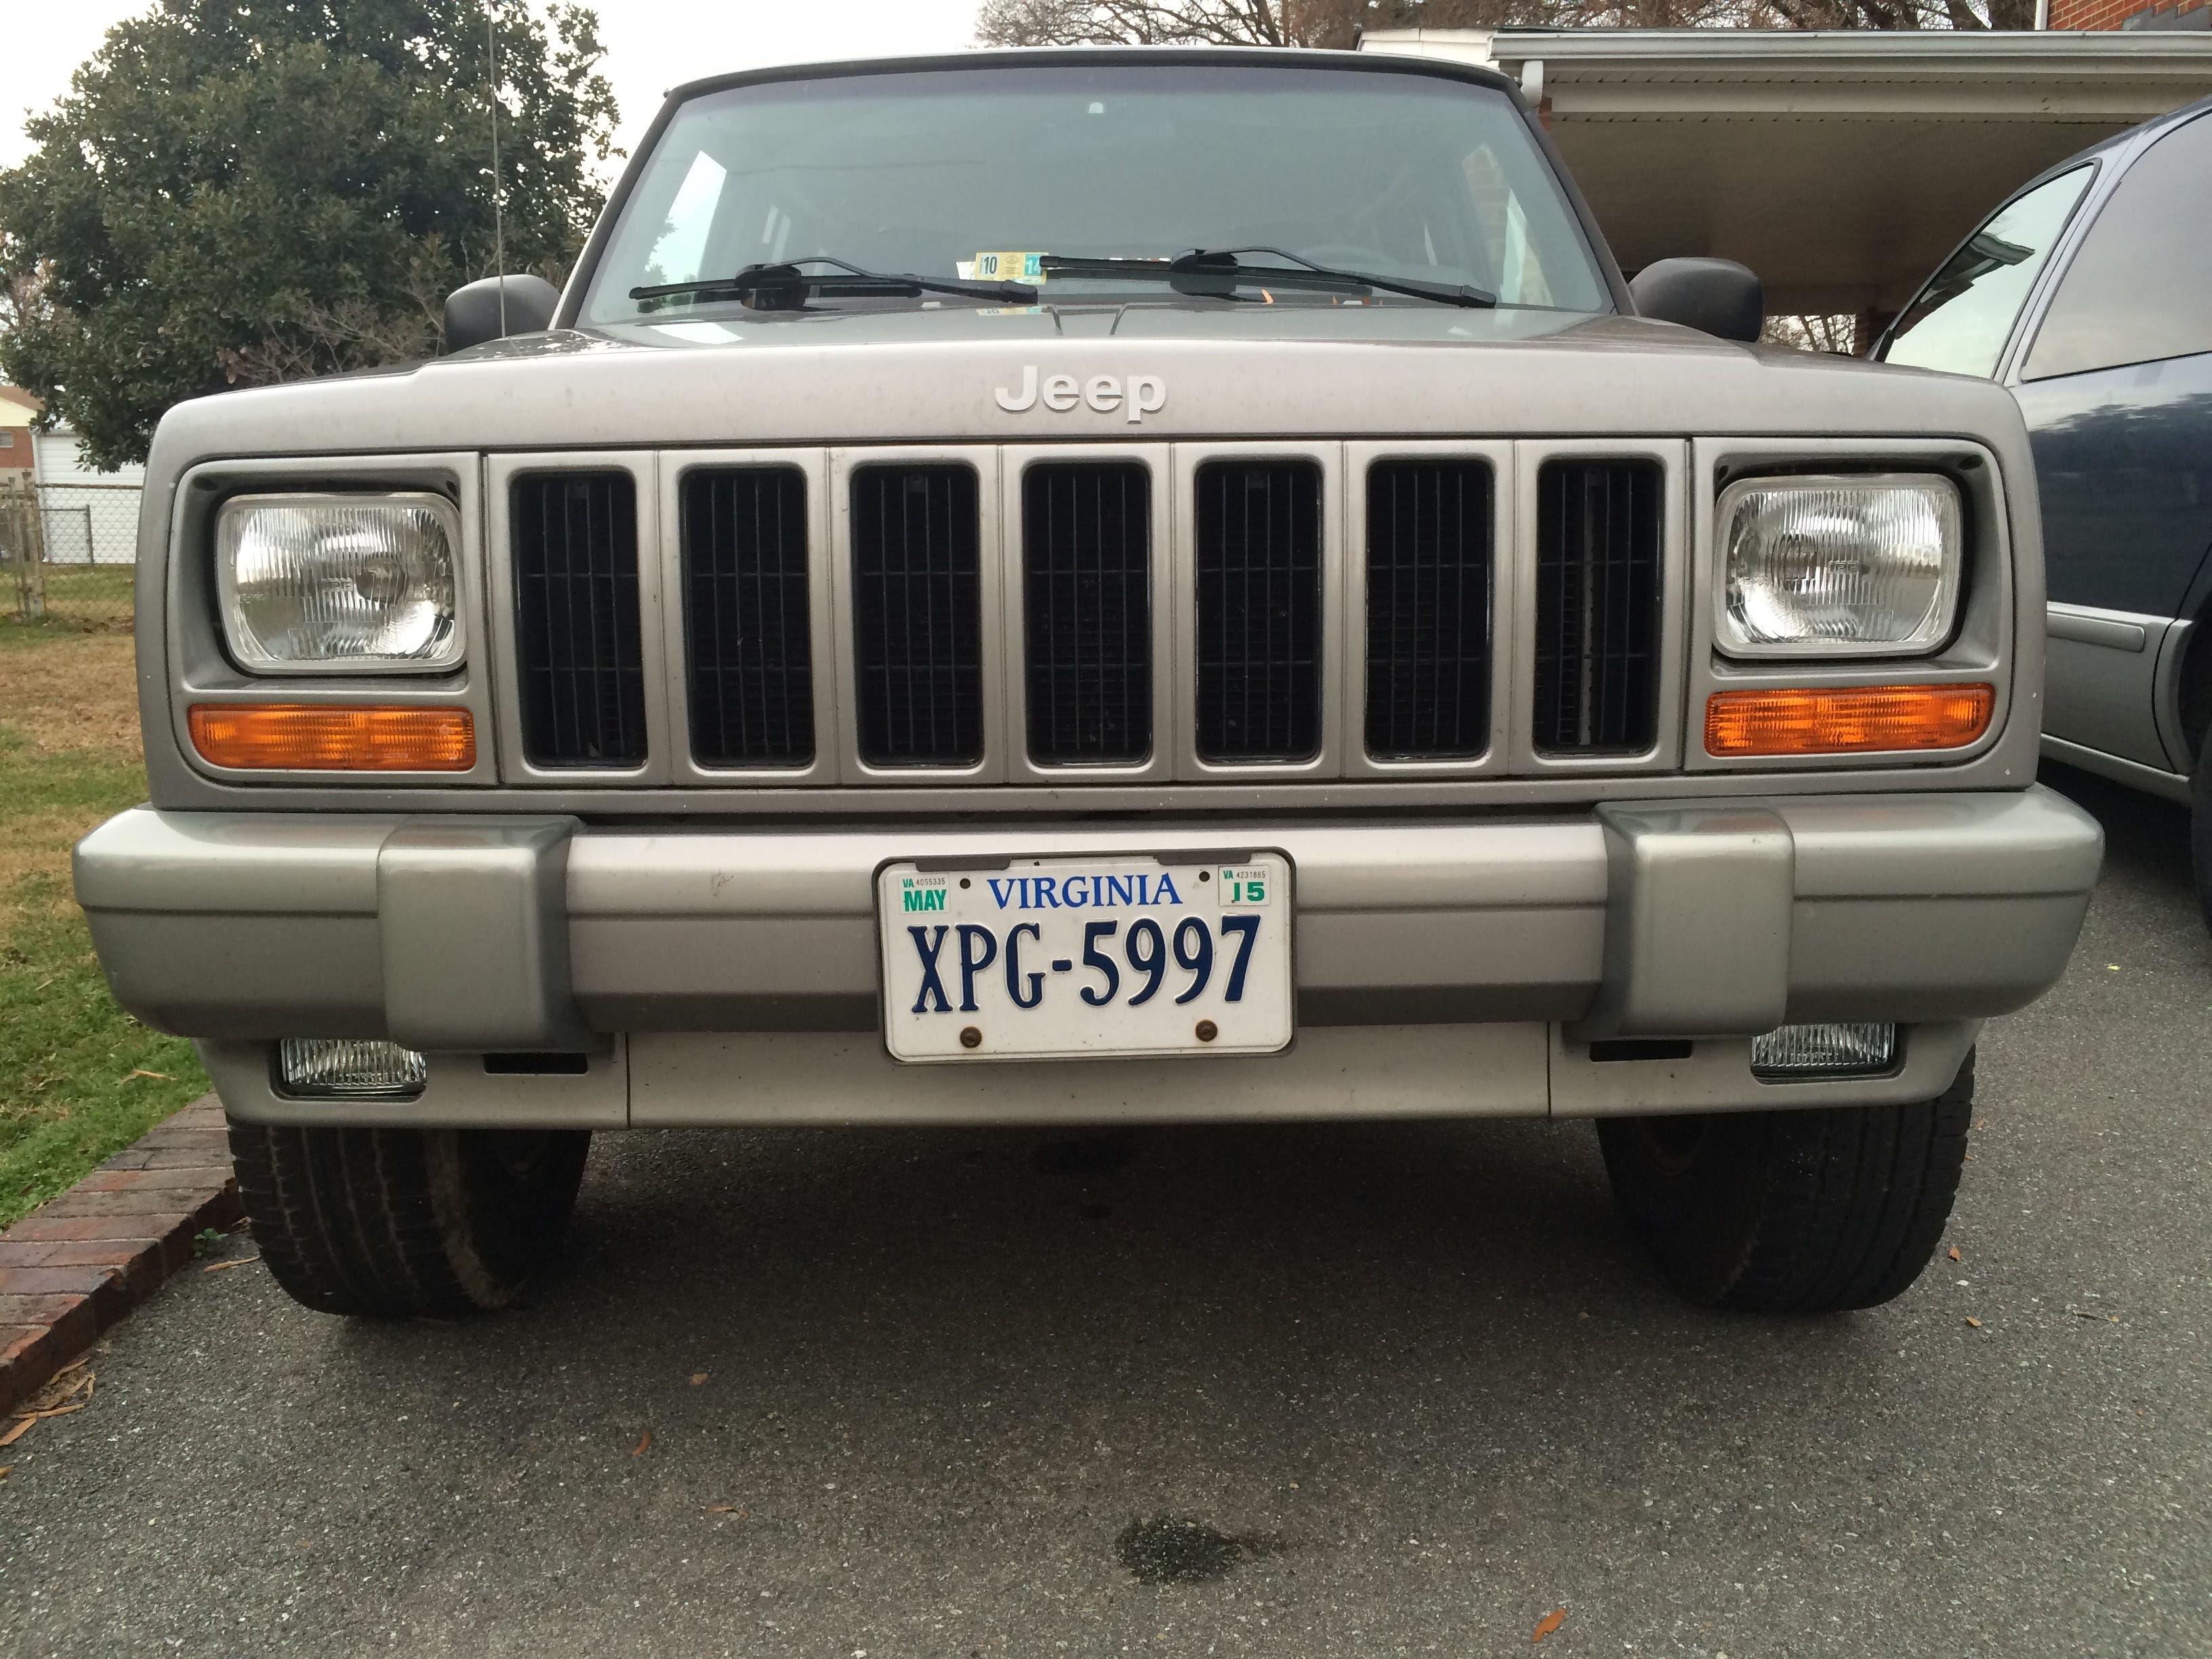
With the little ones thoroughly distracted I was now able to get to work on my own Jeep. Quick recap: headlight combo switch was shorted out, connector to said switch was melted, and various other bulbs and lenses were broken and in need of replacement.
It would not be telling the whole truth to say that the only thing keeping me from getting this job started was the aforementioned procrastination and dad-life preoccupations. There was also the hesitancy of staring down a job that I’d never done before. At this point in my gearhead life I had never dove into this level of electrical repair, and it was intimidating.
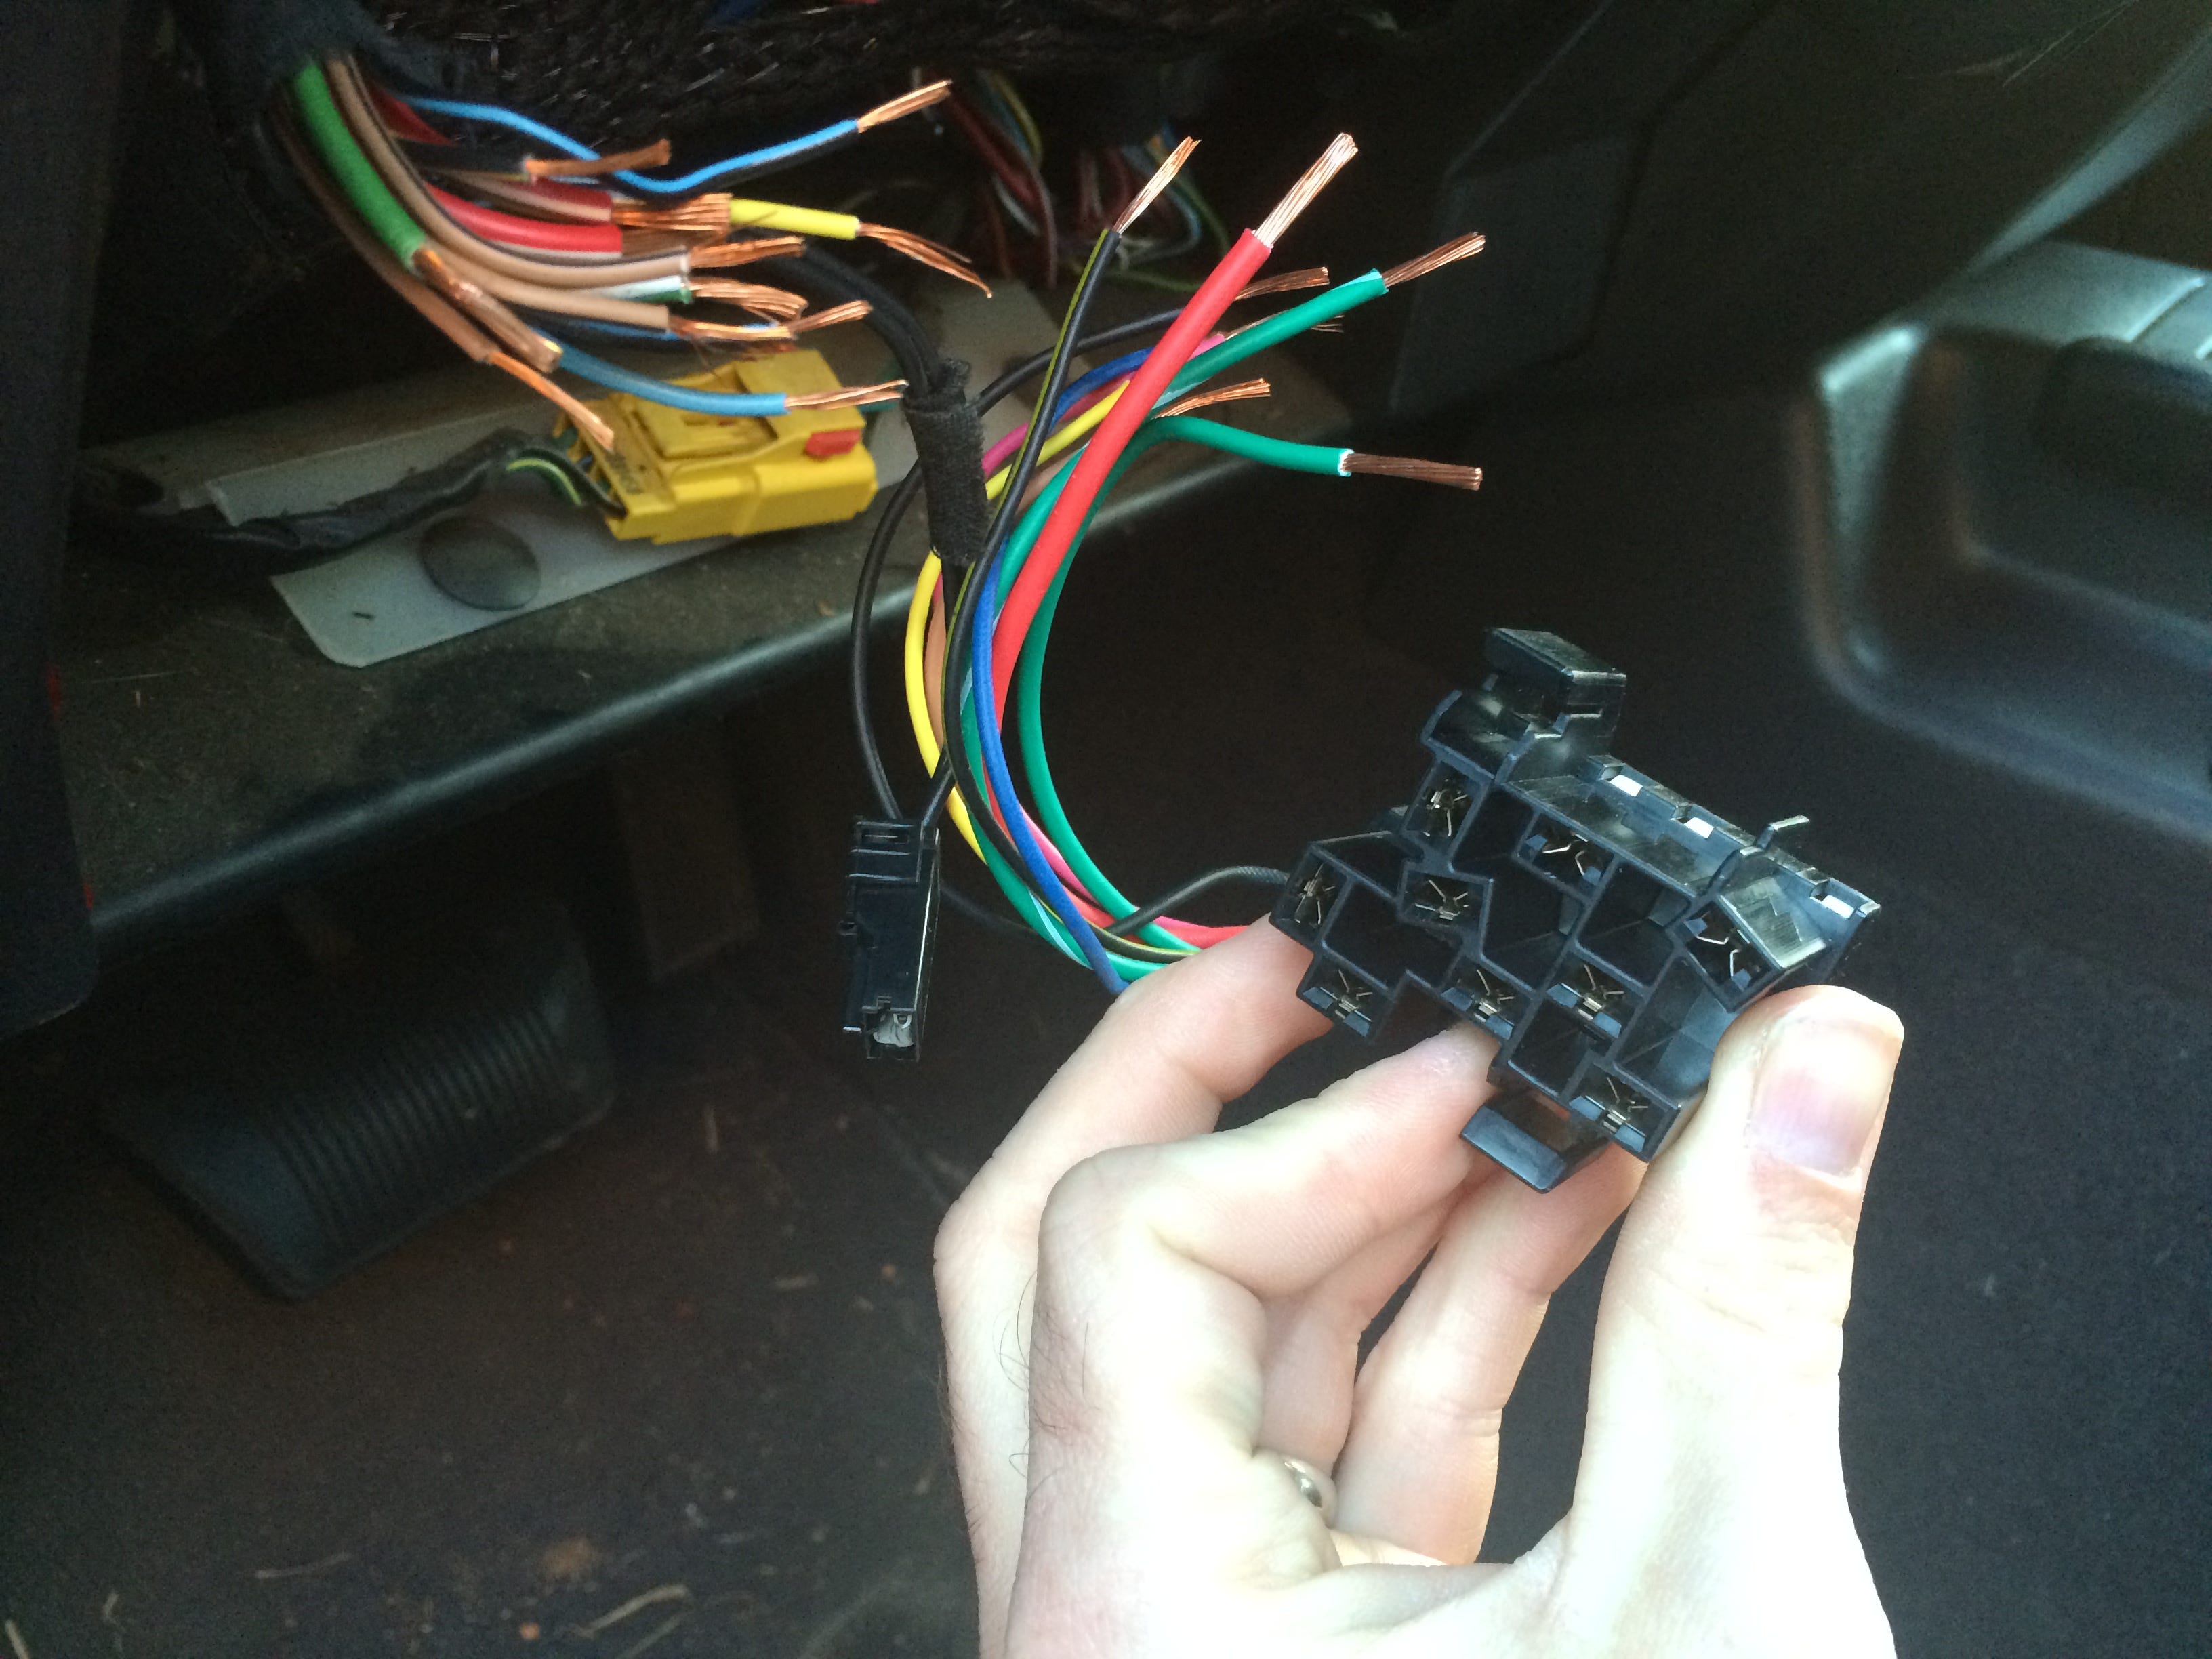
Medusa meet the flying spaghetti monster.
Staring into the unknown makes you check up a little. Remember that proverb about the lion in the road? He isn’t called a sluggard simply because he’s lazy. He’s also afraid. A coward as well as a layabout, who is the wisest in his own eyes once the rationalization defense kicks in. He’s a young man at the point of testing, unwilling to make the jump.
Once I snipped those wires, I was making my jump.
This wiring problem was like the lion in the road for me. It’s funny now to remember the mountains I was making out of minor issues, but at the time I was paralyzed by questions like:
Why does the new connector have less wires than the old one, AND WHY ARE THERE DIFFERENT COLORS!?!?
Once I cut out the melted connector, how do I connect the new wires to the old ones? Wire nuts? Twisting with a bit of electrical tape like I see someone else did under here? Crimp connectors...what are those?
If I mess up, will my Jeep a) lose 10 horsepower, or 2) explode?
I’ve heard it said that taking something apart is like looking behind the proverbial curtain. It lets you in on what’s really going on around here. Something that you once believed to be powered by fairy dust and magical space rays gets reduced down to the bottom shelf of sensibility. The epiphany of “Oh, that’s how that works!” takes the edge off of the unknown. But the fear of that unknown can keep you on your heels, worried about what you might be getting yourself into once you take the leap.

Yet you don’t solve the problem merely by leaping into the unknown. Peeking behind the curtain may give you a clue into how things work, but it doesn’t make you a wizard. Anybody can take something apart. That’s often just called breaking shit, and little boys are preprogrammed for that kind of unimaginative anarchy from the jump. There’s no magic to be had in that.
But the wizardry 101 begins in putting something back together, back to working order. It’s in gaining understanding as to how something works, even enough to actually get it working again. You become initiated in the mystic arts, the shadowy secrets you used to have to pay $120/hr for someone else to perform. But now you have the power.
And in this particular case, my automotive electrical 101 wizardry class included:
Learning how to read a wiring diagram in order to properly join the Medusa connector to the flying spaghetti monster under the dash.
Learning why wiring nuts, electrical tape, and butt connectors are suboptimal for automotive work, and thus how to properly solder, heatshrink, and protect auto wiring.
Learning why this connector failed in the first place in order to prevent a repeat of the failure in the future. Sometimes fixing things means improving them.


Remember the earlier mention about the legendary dark arts going on in the electrical division of the Chrysler Motor Corporation? Dark arts indeed. I’m sure the wiring diagram they drew up in their ivory tower made perfect sense when they presented it to the Dark Lord of Planned Obsolescence. I can just see his brooding smile under that pointy moustache as he rubbed his greedy little palms together in approval. Excellent my pretties!
Let’s carry truckloads of amps from here in alternator-ville on this coast to headlamp-istan on the other with a required stop-over in switchburg along the thinnest wireway we can afford. The resulting traffic jam is something called HEAT. And this is the dark magic spell that melted my connector in the first place. In Muggle-speak that’s too many amps across too long a circuit by way of too thin a wire resulting over time in heat, a short, and a melted connector.

By simply replacing the shorted switch and melted connector I would only be setting things up for the same kind of failure down the road. The failure was inherent to the design. Sometimes behind the curtain you find the magic to be a delayed middle finger aimed at you in the name of infinitesimal savings.
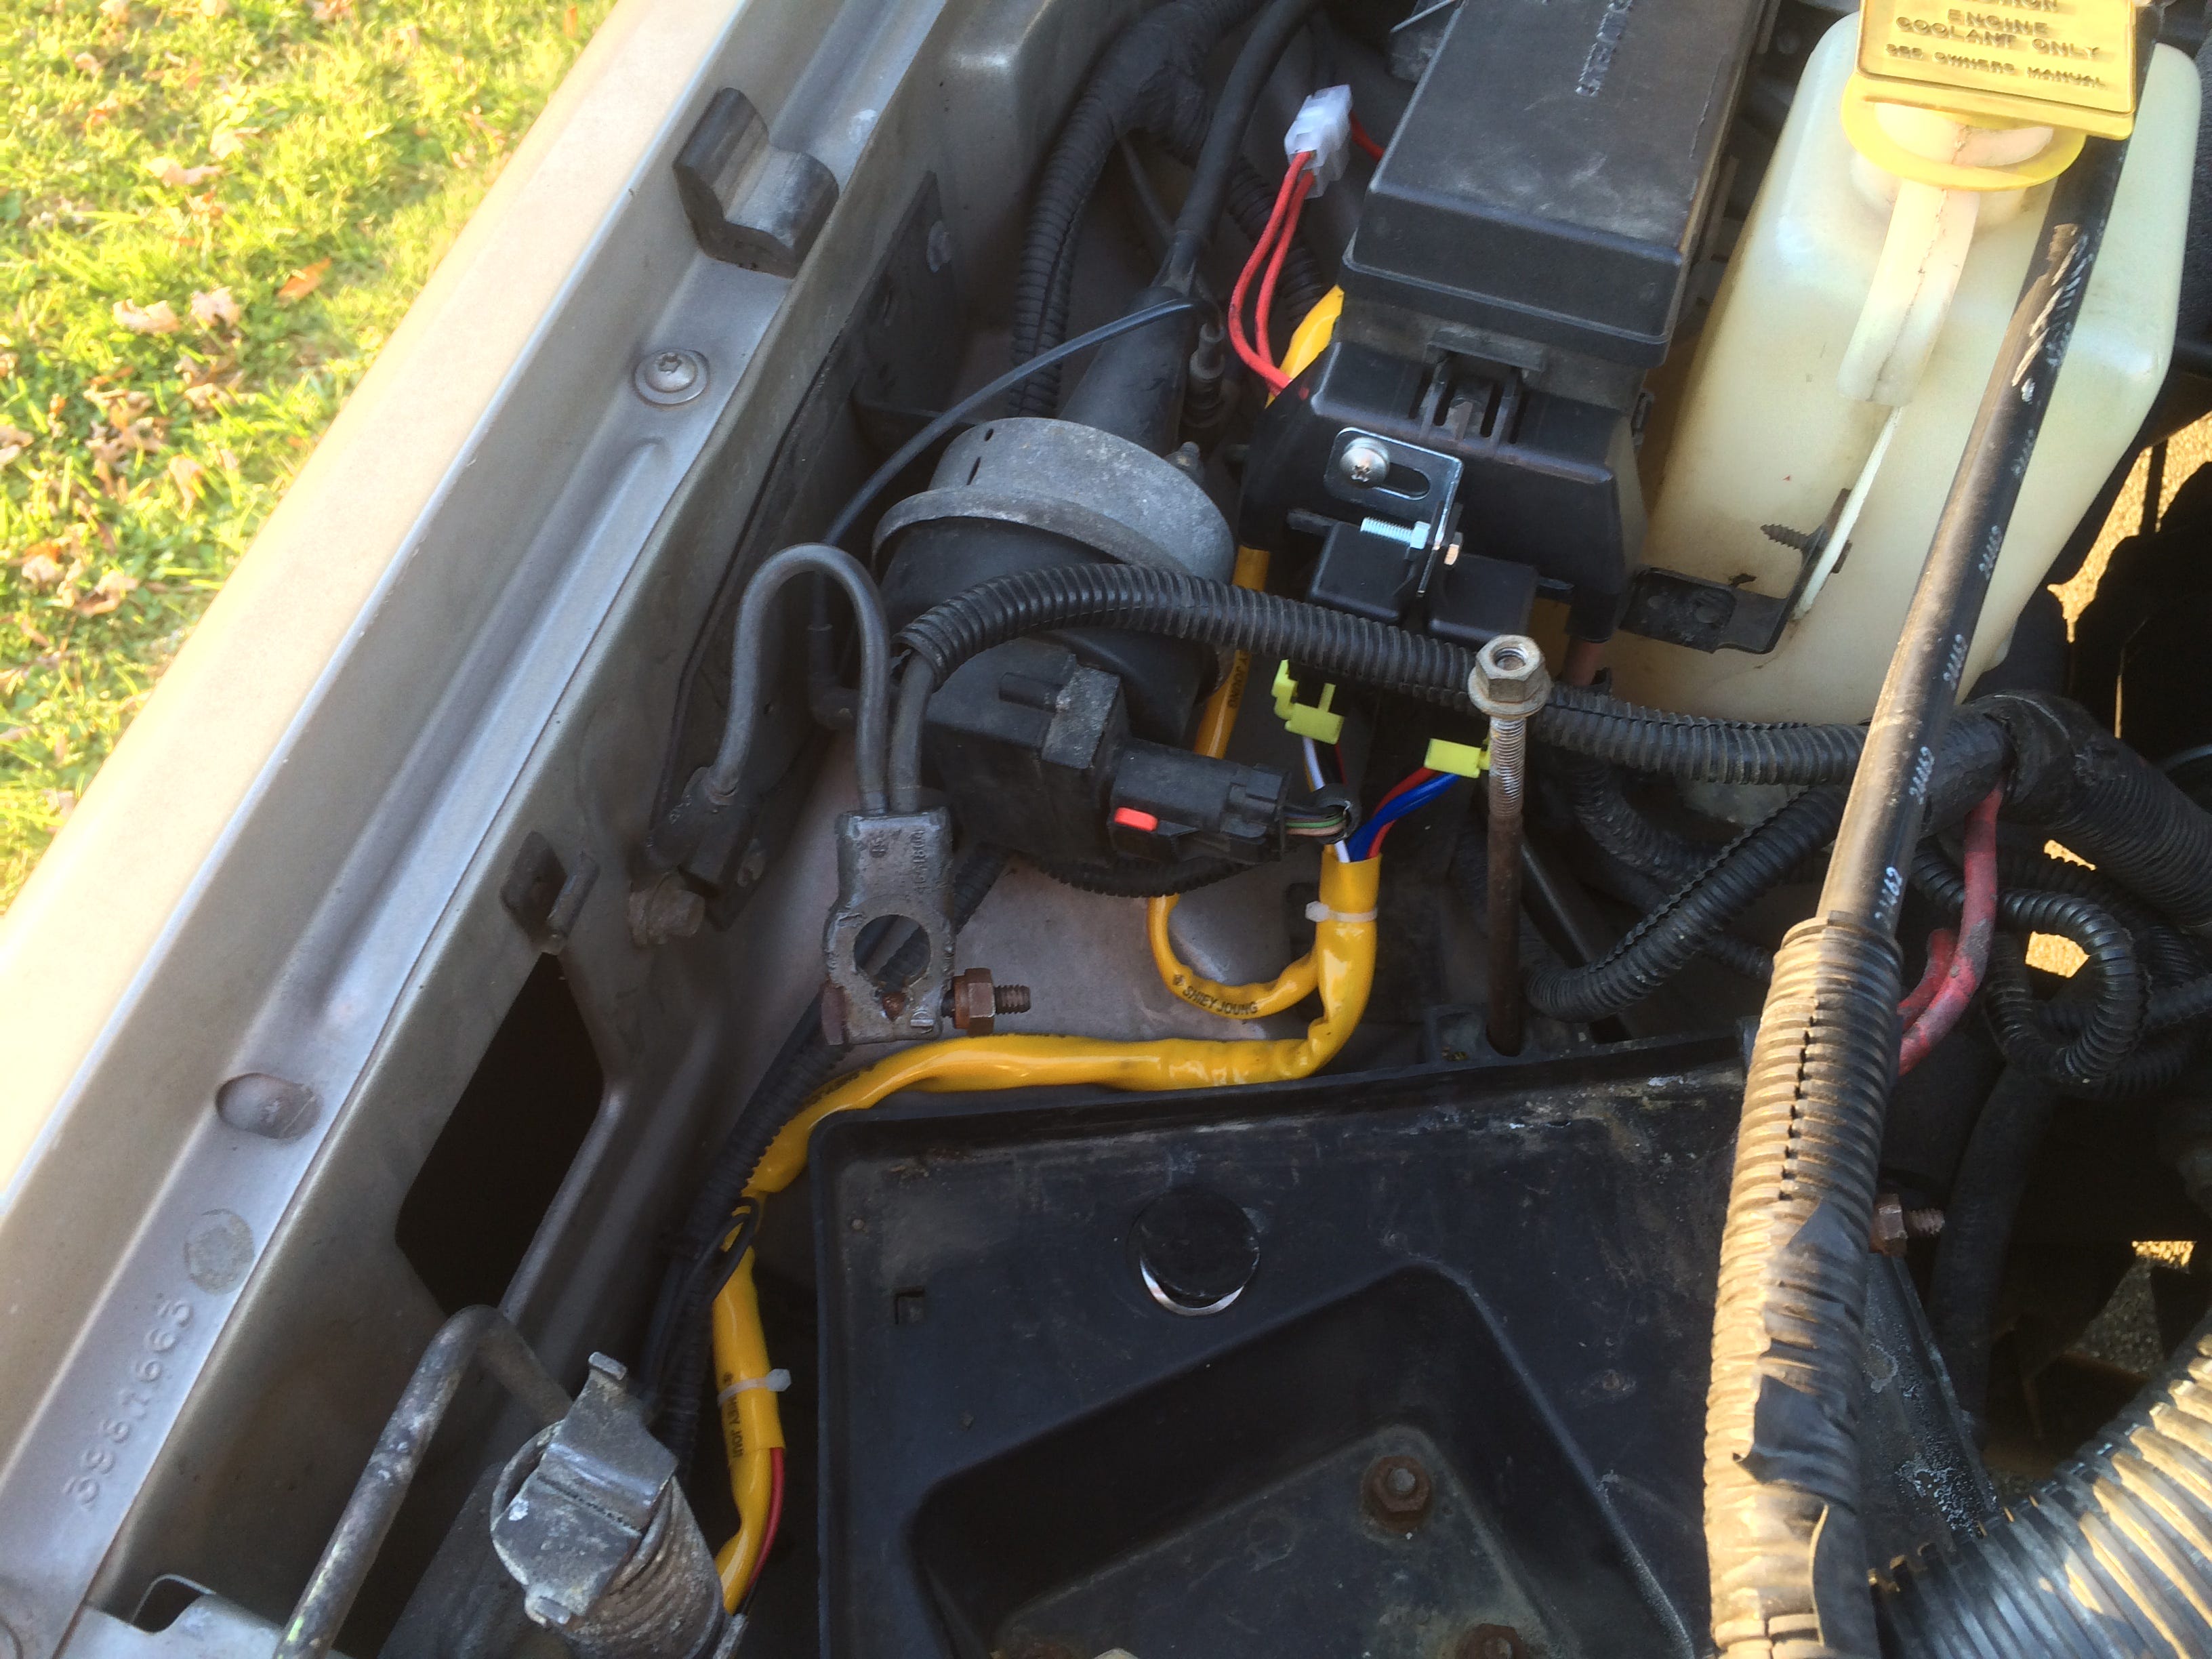
Looks like I needed to jump into the 102 class, and learn about a mystical little trinket called the relay. Through a little study and a trip or two to the magical online academy called the forum I was able to learn that installing a properly protected relay circuit into my existing headlight circuit would fix all of my amperage overload issues.
Most modern cars use these nowadays, but since my Jeep was designed back in the era of steam engines, such modern tomfoolery was out of the question in the ivory tower design meetings. Plus how are you supposed to rub two nickels together if you spend them installing relays, I heard the Dark Lord muttering.
Well, despite that guy and his shiny nickels, I eventually buttoned everything up on this project.
New Headlight Switch
New Headlight Switch Connector, properly soldered into the factory loom
New Tail Light Lens, Side Marker Lens, and Fog Light Housings
Upfitted IPF H4 Headlight Housings to replace the old sealed beams
A Relay Loom for the Headlight Circuit to futureproof this repair
Thus, at the end of this ridiculous project I had again had working headlights, and my whitebelt in automotive electrical wizardry.